Create Your Own Bookmarks with Silicone Stamps
Create Your Own Bookmarks with Silicone Stamps
This guide explains how to create personalized bookmarks using silicone stamps and various crafting materials. These bookmarks are relatively quick and inexpensive to make.
Materials and Tools:
- Paper (colored or white)
- Black stamp ink
- Watercolor paints
- White acrylic paint
- Laminating sheets
- Yarn
- Laminating machine
- Silicone motif stamps
- Scissors
- Paper trimmer/rotary cutter
- Fine paintbrushes
- Water container
- Hole punch
Step-by-Step Instructions:
- Prepare the Paper: Cut the paper into your desired bookmark sizes using a paper trimmer or rotary cutter.
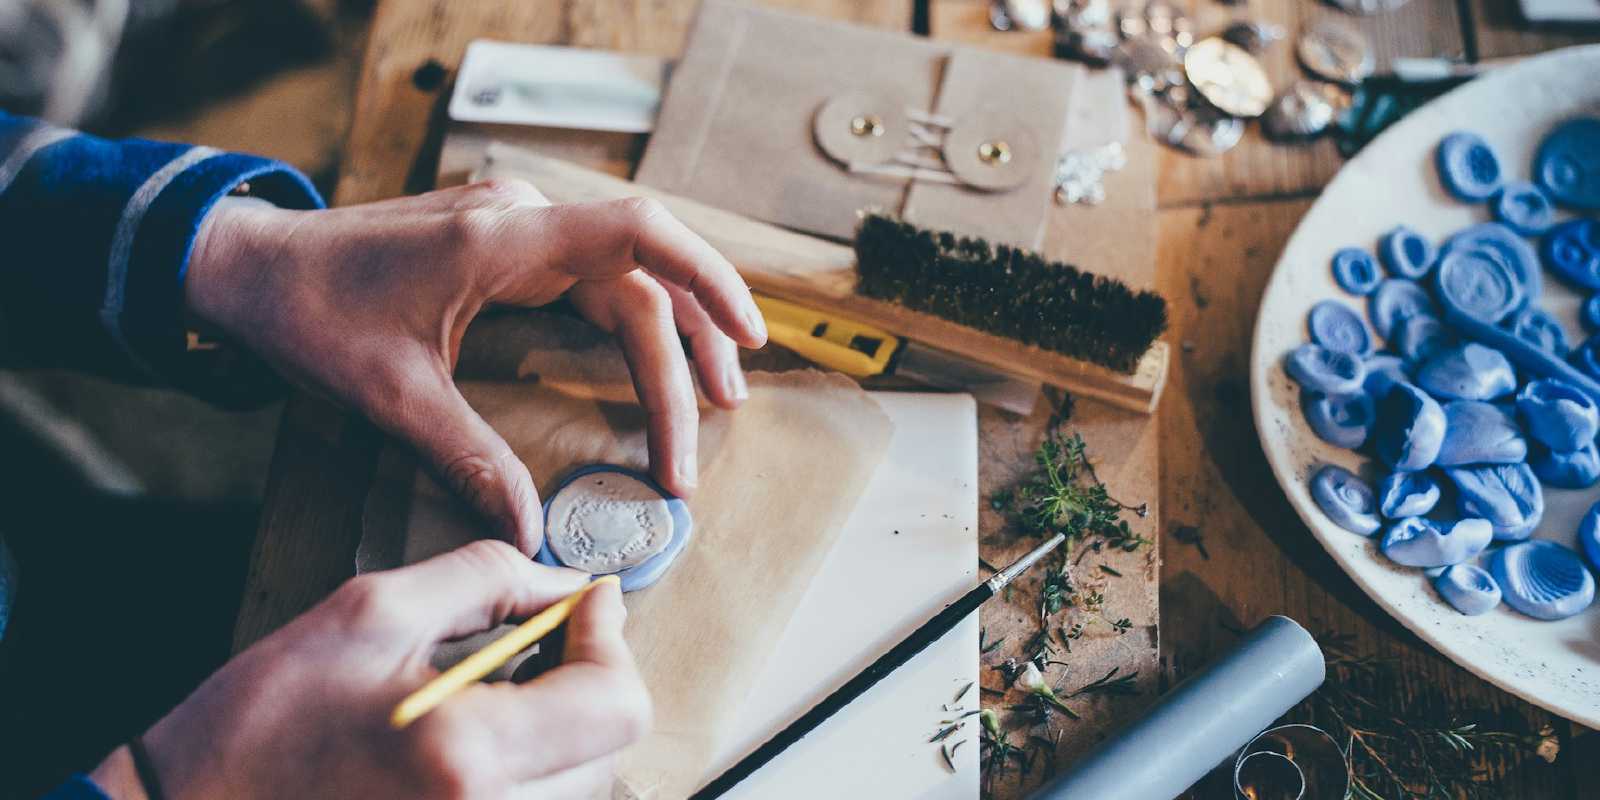
- Stamp the Motifs: Dip the silicone stamps into the black stamp ink and press them onto the paper to transfer the motifs. Depending on the desired intensity, one ink application can yield multiple good stamps.
- Color the Designs: Lightly color the stamped motifs using watercolor paints or white acrylic paint with fine paintbrushes.
- Laminate: Place the decorated paper into laminating sheets and run them through a laminating machine.
- Trim: Once laminated, trim the edges of the bookmarks using the paper trimmer or rotary cutter.
- Add Yarn (Optional): If you wish to add yarn tassels:
- Stamp the motif slightly higher on the paper to allow space for a hole.
- Use a hole punch to create a hole near the top, preferably in the center.
- Knot several strands of yarn at the bottom and thread them through the punched hole.