DIY Plant Markers – Stable and Reusable

Store-bought plant markers often prove to be expensive, unstable, or too small for adequate labeling. Homemade alternatives offer a durable and cost-effective solution.
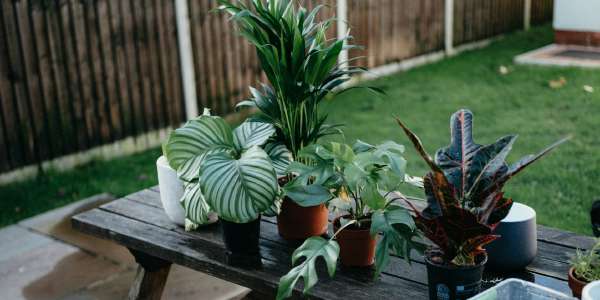
Plant markers are essential for gardeners, especially when growing multiple varieties or saving seeds, to ensure proper identification and avoid confusion.
These DIY plant markers are designed for multiple seasons of use. They can be cleaned with nail polish remover or spirits and then re-labeled. Their stability, crucial for insertion into soil, depends on the laminating film thickness; 80-mic film is recommended. The markers are also waterproof, and a permanent marker with a fine tip is suitable for labeling. While cleaning with water and a sponge is possible, completely erasing the text with nail polish remover and a pad simplifies reuse by allowing for fresh labels.
How to Make Waterproof Plant Markers
This guide details the process for creating your own durable plant markers using a word processing program and a laminator.
Materials Needed:
- Word processing software (e.g., Microsoft Word)
- Printer
- Scissors
- Laminator
- 80-mic laminating pouches
- Permanent marker (for labeling)
- Nail polish remover or spirits (for cleaning/erasing)
Step-by-Step Instructions:
- Prepare Shapes in Word: Open a new document in your word processing software. Go to “Insert” and select “Shapes.”
- Choose Marker Shape: Under “Block Arrows,” select “Right Arrow,” or under “Flowchart,” choose the “Terminator” symbol. These shapes are well-suited for plant markers.
- Adjust Size and Orientation: Insert the chosen shape into the document and drag its corners to adjust it to the desired size. A green rotation handle will appear; use it to orient the marker vertically or horizontally as preferred.
- Position the Shape: Drag the shape to the desired position on the page, ideally starting from the top-left corner of the sheet.
- Set Text Wrapping: Right-click on the shape to open the context menu. Under “Wrap Text,” select “Tight.”
- Copy the Shape: Left-click the shape to select it, then right-click and choose “Copy” from the context menu.
- Paste Multiple Copies: Right-click on the document where you want to place the next marker. Under “Paste Options,” select “Keep Source Formatting” to insert a copy.
- Ensure Proper Spacing: Crucially, leave at least 2 cm of space between each marker. Insufficient spacing will compromise the waterproofing of the markers after lamination.
- Set Shape Color (Optional): To change the background color of the markers, right-click a shape and select “Format Shape.” Under “Fill,” choose a “Background Color,” such as green.
- Print and Cut: Print the A4 sheet in color. Carefully cut out each marker.
- Prepare Laminator: Turn on your laminator and allow it to heat up.
- Laminate the Markers: Place the cut-out markers approximately 2 cm apart within the two sheets of an 80-mic laminating pouch. Gently feed the pouch straight into the laminator, ensuring the markers do not shift.
- Final Trim: Once laminated, cut out each marker again, leaving a generous 1 cm border around the laminated shape. This border is vital for ensuring the markers remain waterproof. Cutting too close to the shape will break the seal and render them susceptible to water damage.
Alternatively, for those less familiar with computer software, the shapes can also be drawn manually with a ruler and then followed by printing and laminating.