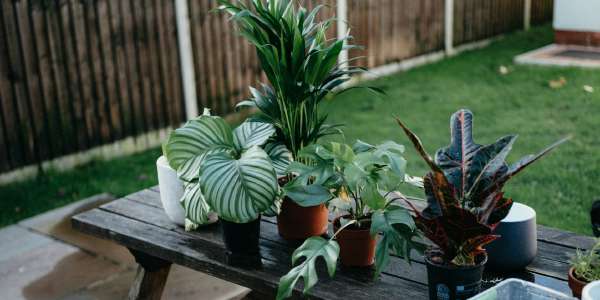
Essential DIY Car Hacks: Fix Foggy Windows and Rusted Wheels
Every car owner knows the frustration of persistent, everyday problems. You rush out on a cold morning only to find your windows are completely fogged up from the inside. Or, you set aside a Saturday to change your tires, but one wheel is stubbornly rusted to the hub. These issues can seem like major obstacles, often leading to a costly trip to the mechanic.
But what if you could solve them yourself with simple, effective methods? This guide will walk you through two common car maintenance challenges, providing you with the knowledge and confidence to tackle them at home. We’ll cover how to banish stubborn moisture from your car’s interior and how to safely free a rusted-on wheel without professional equipment.
Tackling Excess Moisture and Foggy Windows
A damp car interior is more than just an annoyance; it can lead to musty odors, mold growth, and dangerously obscured visibility from fogged or frozen windows. This excess moisture often accumulates from wet shoes, leaky seals, spills, or simply from the air during humid weather. Fortunately, you can effectively dry out your car using household items.
Why Your Car Gets Damp Inside
Before diving into the solutions, it’s helpful to understand the cause. Moisture enters your car and gets trapped. When the temperature inside the car drops, especially overnight, this airborne moisture condenses on the coldest surfaces—your windows. This results in that familiar, frustrating internal fog. By removing the trapped moisture from the air and fabrics, you solve the problem at its source.
Method 1: The Deep Dehumidification Newspaper Technique
For cars with significant moisture problems, this method is a powerful and virtually free solution. It leverages the excellent absorbent properties of newspaper to pull large amounts of water vapor from the air and upholstery.
What You’ll Need:
- A large stack of old newspapers
- Two or more cardboard boxes (or sturdy plastic containers for very wet conditions)
- Access to a warm, dry room (like a heated basement or utility room)
Step-by-Step Instructions:
- Prepare the Boxes: Tightly pack the newspapers into your cardboard boxes. For best results, stand the newspapers upright. This maximizes their surface area and stability. If your boxes are flimsy, reinforce them with packing tape. For a seriously damp car, prepare anywhere from two to ten boxes.
- “Charge” the Newspapers: Place the newspaper-filled boxes in a very warm, dry room for at least 24 to 48 hours. This process thoroughly dries the paper, turning it into a powerful desiccant ready to absorb moisture.
- Deploy in Your Car: Place the warm, dry boxes inside your cool, damp car. The best spots are on the floor in the front and back footwells. Leave them in the vehicle overnight.
- The Daily Exchange: In the morning, remove the boxes from your car and return them to the warm room. As the newspapers cooled overnight, they absorbed moisture from the car’s interior. When you reheat them in the warm room, they will release this moisture into the air, where it can be managed by the room’s ventilation.
- Repeat the Cycle: Continue this daily exchange process. The newspapers act like a sponge, soaking up moisture in the car and getting “wrung out” in the warm room. You’ll notice a significant reduction in window fogging, often after just the first night.
Method 2: The Simple Set-and-Forget Charcoal Dehumidifier
If your moisture problem is less severe or you want a low-maintenance solution, a simple DIY charcoal dehumidifier is an excellent choice. Charcoal is a natural desiccant that effectively absorbs moisture and odors.
What You’ll Need:
- A tin can with a lid (a coffee can or large cookie tin works well)
- Charcoal briquettes (the kind used for grilling, without any lighter fluid additives)
Step-by-Step Instructions:
- Prepare the Can: Using a hammer and nail or a drill, carefully pierce several holes in the lid of the tin can to allow for air circulation.
- Fill with Charcoal: Fill the can with charcoal briquettes.
- Place in Your Car: Secure the lid and place the can in a stable location in your car, such as under a seat or in a cup holder if it fits.
This simple device will passively absorb moisture over time. While not as powerful as the newspaper method for severe dampness, it’s a great way to maintain a dry interior and prevent moisture buildup.
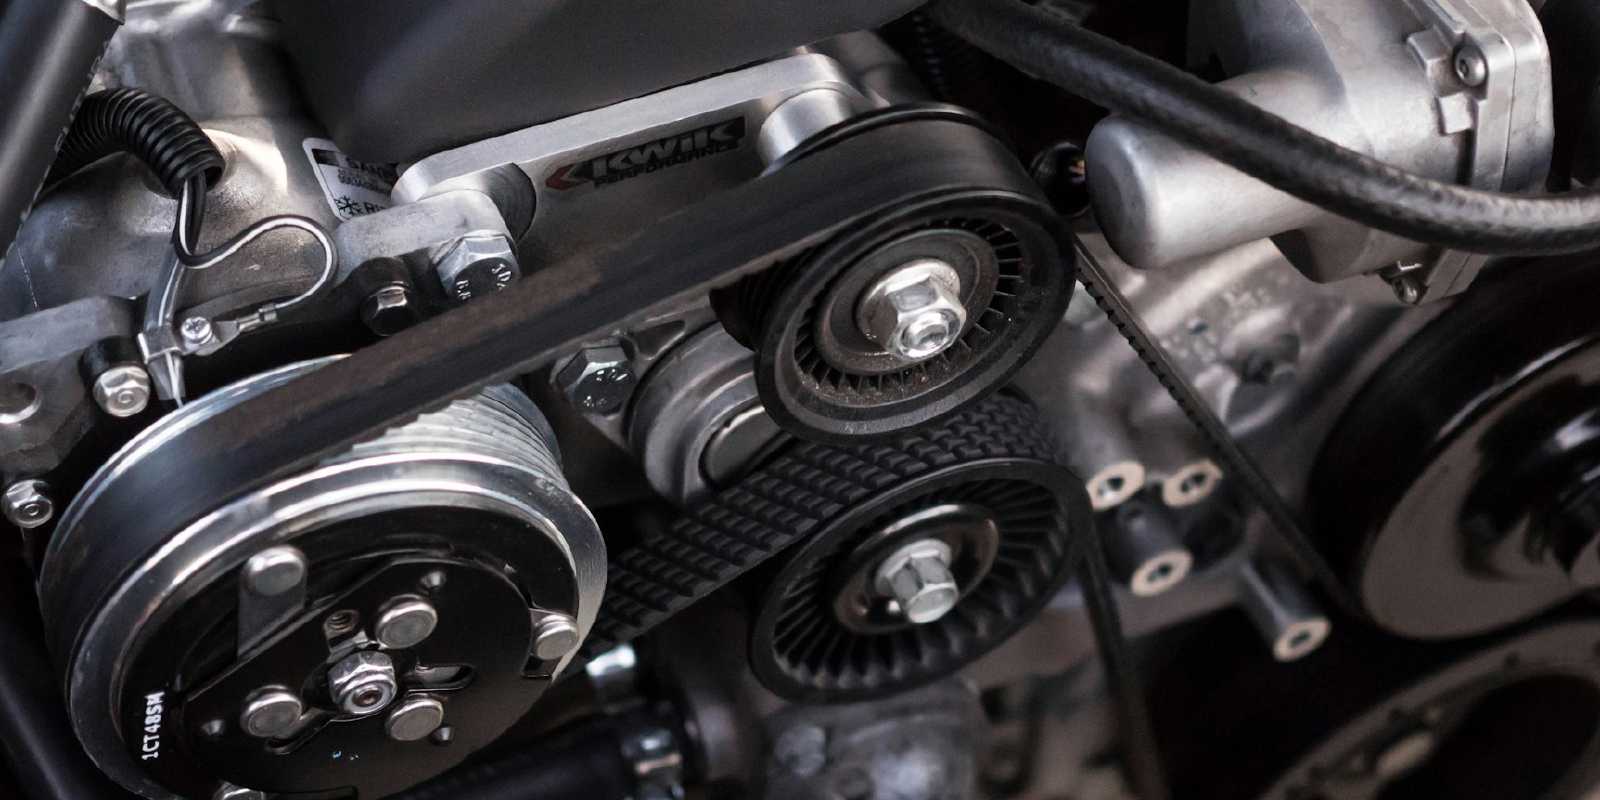
How to Loosen a Rusted-On Wheel at Home
Changing a tire is a fundamental skill, but it comes to a screeching halt when the wheel is rusted fast to the wheel hub. This “seized wheel” is a common problem, especially in areas with wet winters and road salt. While it might seem like you need brute force or a professional lift, there’s a safer, more controlled method you can use at home with just your car’s own power.
Why Wheels Get Stuck
Over time, corrosion and rust can form between the steel hub and the alloy wheel, essentially welding them together. Trying to break this bond by kicking the tire or hitting it with a sledgehammer is not only ineffective but can also damage the wheel, tire, and sensitive wheel bearing components.
The Safe No-Lift Method to Free a Seized Wheel
This technique uses the car’s weight and torque to safely break the rust bond. Proceed with extreme caution and understand that you are performing this at your own risk. Always work on one wheel at a time.
Step-by-Step Instructions:
- Prepare the Wheel: With the car safely on the ground (NOT on a jack), use a lug wrench to loosen the lug nuts on the stuck wheel. Crucially, do not remove them. Loosen each nut by only one full turn. This gives the wheel just enough room to break free from the hub without detaching from the vehicle.
- Apply Rust Penetrant (Optional): For extra help, spray a quality rust-penetrating oil around the center of the wheel where it meets the hub. Let it soak in for a few minutes.
- Use the Car’s Torque: Get into the driver’s seat and start the engine. Engage first gear and drive forward just a few inches. Then, brake firmly but smoothly. You are not trying to jolt the car; you’re using the force of braking to put shear stress on the rust bond.
- Reverse the Process: Put the car in reverse, move back a few inches, and brake firmly again.
- Listen for the “Crack”: Repeat this gentle forward-and-reverse braking process. You will eventually hear a distinct “crack” or “pop” sound. Stop immediately. This is the sound of the rust bond breaking. The wheel is now loose. Continuing to drive could damage the lug nuts or the rim itself.
- Lift and Remove: Turn off the engine. Now, you can safely lift the corner of the vehicle with a jack, fully remove the now-loosened lug nuts, and take off the wheel.
Before reinstalling the wheel, use a wire brush to clean the corrosion off both the car’s hub surface and the back of the wheel to prevent it from seizing again in the future.