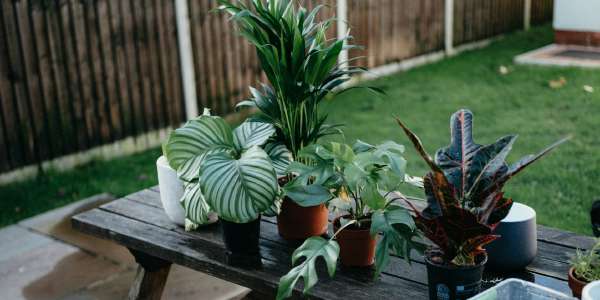
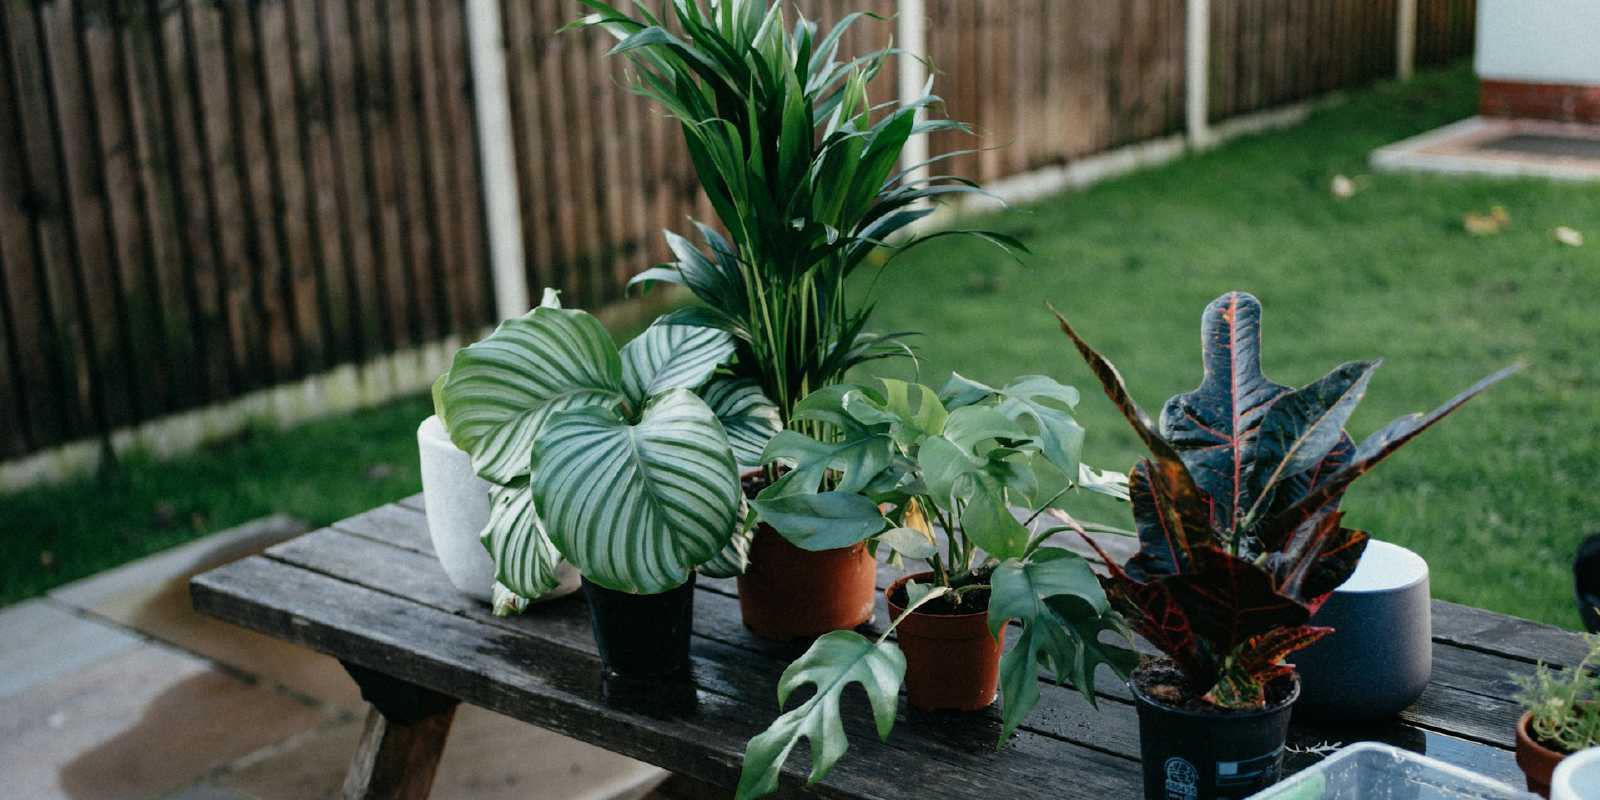
From Scraps to Splendor: The Ultimate Guide to Propagating Plants
Have you ever wished you could duplicate a favorite rose, create an endless supply of fresh herbs, or simply get more plants without spending more money? The answer lies in a simple, magical gardening technique: propagation. It’s the process of creating new plants from existing ones, and it’s far easier than you might think.
This comprehensive guide will walk you through the fundamentals of propagating plants from cuttings—one of the most accessible methods for home gardeners. We’ll cover the core techniques and provide specific, step-by-step instructions for popular flowers and herbs, turning you into a confident plant propagator.
Why Propagate Your Plants?
Before we dig in, let’s look at the benefits. Propagation isn’t just a practical skill; it’s a deeply rewarding one.
- It’s Cost-Effective: Create dozens of new plants for your home and garden for free.
- It Duplicates Your Favorites: Love that specific geranium or the fragrant mint from a friend’s garden? Propagation lets you create an exact genetic copy.
- It’s Sustainable: Give new life to plant trimmings, wilted bouquets, and store-bought herbs that would otherwise be discarded.
- It’s a Great Way to Share: Multiply your plants to give as thoughtful, living gifts to friends and family.
The Fundamentals of Propagation from Cuttings
Most of the plants in this guide are propagated using cuttings. A cutting is simply a piece of a parent plant—typically a stem—that is encouraged to grow its own roots, becoming a new, independent plant.
The Golden Rules for Taking Cuttings
The health of your new plant starts with a good cutting. For the best chance of success, follow these rules:
- Choose a Healthy Stem: Look for a vigorous, healthy stem on the parent plant. Avoid any that are woody, weak, or showing signs of disease or pests. Stems that haven’t flowered yet are often the best choice.
- Get the Right Length: A cutting that is 4-6 inches (10-15 cm) long is ideal. This provides enough stem for planting while being small enough for the new roots to support.
- Make a Clean Cut: Use a sharp, clean knife or pair of pruning shears. Make your cut just below a leaf node (the little bump where a leaf grows from the stem), as this is where rooting hormones are most concentrated.
- Prepare the Cutting: Once you have your stem, carefully remove the leaves from the bottom half. This prevents them from rotting underground and focuses the plant’s energy on producing roots, not supporting excess foliage. Typically, leaving just two to four leaves at the top is sufficient.
Two Core Methods: Soil vs. Water
There are two primary ways to encourage your cuttings to root: in a growing medium like soil or simply in a glass of water.
- Rooting in Soil: This is the most common method. It creates strong, soil-acclimated roots from the start, often leading to a more robust plant. It requires a bit more setup, including pots and a suitable rooting medium.
- Rooting in Water: This method is wonderfully simple and visually satisfying, as you can watch the roots grow. It’s excellent for many herbs and houseplants. The main drawback is that water-grown roots can be more fragile and may experience some shock when transplanted to soil.
Method 1: Rooting Cuttings Directly in Soil
This technique, often enhanced with a makeshift “greenhouse,” is perfect for a wide variety of plants, including roses, geraniums, and Dipladenia.
Step-by-Step Guide
- Prepare Your Pot: Fill a small pot with a light, well-draining potting mix. A seed-starting mix or a blend of potting soil and perlite works well. Moisten the soil thoroughly, but ensure it’s not waterlogged.
- Plant the Cutting: Use a pencil or a small stick to poke a hole in the soil. This prevents the delicate end of the cutting from being damaged. Gently insert your prepared cutting into the hole, ensuring the stripped nodes are below the surface. Firm the soil around the stem.
- Create a Humid “Mini-Greenhouse”: Cuttings lose moisture through their leaves but have no roots to absorb more. To solve this, create a humid environment. You can place a clear plastic bag over the pot (propped up with sticks so it doesn’t touch the leaves) or cover the cutting with a large glass jar. This traps moisture and creates the perfect rooting conditions.
- Provide Light and Warmth: Place the pot in a warm location with bright, indirect light. Direct sunlight can scorch the cutting.
- Be Patient and Ventilate: Roots can take several weeks to form. Once a week, remove the bag or jar for about 30 minutes to allow for air circulation and prevent mold. Check if the soil is dry and moisten it lightly if needed. You’ll know roots have formed when you see new leaf growth or feel gentle resistance when you tug lightly on the cutting.
Method 2: Rooting Cuttings in Water
For beginners, there’s no simpler or more gratifying method than rooting in water. It works exceptionally well for soft-stemmed herbs like mint and basil.
Step-by-Step Guide
- Place Cutting in Water: Take your prepared cutting and place it in a clear glass or jar filled with water. A clear container lets you easily monitor root growth. Ensure the leaf nodes where you want roots to grow are submerged, but no leaves are in the water.
- Find a Bright Spot: Put the jar in a location that receives bright, indirect sunlight.
- Change the Water: To prevent bacteria from forming, change the water every few days.
- Watch for Roots: You should see the first signs of roots emerging in one to two weeks.
- Let Roots Develop: Don’t be too quick to plant. Allow the roots to grow to at least an inch long and develop smaller, secondary roots. This can take an additional two to three weeks.
- Transplant to Soil: Once the root system is established, carefully plant your cutting in a pot with fresh potting soil. Keep the soil consistently moist for the first week to help the new water-grown roots acclimate to their new environment.
Plant-Specific Propagation Guides
Now let’s apply these methods to some popular garden plants.
Propagating Flowering Plants
Roses (From a Bouquet!) Yes, you can create a new rose bush from a cut flower! The key is to act while the stem is wilted but not completely dried out.
- Prepare the Cutting: Take a stem from the bouquet. Cut off the faded flower head and trim the stem to about 6-8 inches. Remove all the leaves except for the top one or two sets.
- Plant in Soil: Plant the cutting in a pot of moist soil, making sure at least two or three nodes are buried.
- Create a Greenhouse: Cover the cutting with a large, clean glass jar (like a pickle or jam jar). This will act as your mini-greenhouse.
- Wait and Watch: Keep the pot in a sheltered spot with indirect light and ensure the soil stays moist. Be patient; it can take months. New shoots emerging from the leaf buds are the sign of success. In the spring, you can remove the jar on frost-free days but protect the tender new growth from direct sun.
- Transplant: After about a year, the new rose plant should be strong enough to be transplanted to its final location in the garden.
Geraniums Propagating geraniums in late summer or early autumn is a fantastic way to ensure you have plenty of vibrant plants for the following year.
- Take Cuttings: Cut a 4-inch stem from a healthy geranium, making the cut just above a leaf axil on the parent plant.
- Plant in Soil: Remove the lower leaves and insert the cuttings into pots filled with moist compost.
- Overwinter Care: Roots and new leaves should develop relatively quickly. Keep the young plants in a moderately warm, bright location over the winter. Water them moderately and provide a liquid fertilizer once a month.
Dipladenia (Mandevilla) These lush tropical vines are surprisingly easy to propagate.
- Take Cuttings: In the autumn, take 10 cm (4-inch) cuttings from healthy shoots. Remove all leaves except for the top two.
- Plant and Seal: Plant each cutting in a small pot of moist seeding soil. Place the entire pot inside a clear plastic bag and seal it to create a high-humidity environment.
- Ventilate: Once a week, open the bag for 30 minutes to provide fresh air. Mist the soil if it feels dry.
- Rooting: Within about four weeks, the cuttings should be well-rooted. They can be moved outdoors after the last frost in spring. Remember, Dipladenia is not frost-hardy and must be brought indoors for winter.
Passion Flower This is one of the simplest plants to propagate.
- Take Cuttings: Simply cut a 10 cm (4-inch) piece from one of the plant’s runners.
- Plant: Insert these cuttings directly into a pot with seed or potting soil.
- Grow: Keep the soil moist, and roots will develop in a short period, producing new plants.
Propagating and Reviving Culinary Herbs
Mint (The Water Method) Mint is famously vigorous and incredibly easy to propagate in water.
- Root in Water: Place a healthy mint stem in a glass of water. Roots will appear in about one to two weeks. Let them grow strong for another couple of weeks before planting.
- A Word of Warning: Mint spreads aggressively in the garden via underground runners and can quickly take over. It’s often best to plant it in a container to keep it contained. Even if it appears to die back in winter, it will return with a vengeance in the spring.
Basil (Reviving Supermarket Pots) Don’t throw away that store-bought basil pot after you’ve harvested the leaves!
- Regrow Stems: Take the remaining bare stems and place them in a glass of water. Within days, you’ll see new roots forming at the bottom and tiny leaves sprouting at the top.
- Plant: Once a healthy network of roots and new leaves has developed, plant the stems in a pot with fresh soil to grow whole new basil plants.
- Care Tip: To help your basil thrive, try watering it occasionally with cooled, weak black tea. This simple trick can help keep the plant robust and prevent its leaves from drooping.
Chives (Giving Them a Second Life) A supermarket chive pot can look sad and depleted after a few snips, but it’s easily revived.
- Divide and Conquer: The key to reviving chives is to give them more space. Carefully remove the clump of plants from the small pot and gently separate them.
- Repot or Plant Out: Replant the divided clumps into a larger container, like a window box, or even better, directly into a garden bed. This gives the individual plants room to recover and flourish.
- Crucial Care Tip: To keep your chive plant productive and strong, snip off any flower buds that appear. Allowing chives to flower weakens the plant significantly.
Your Journey into Propagation
With a pair of shears, a few pots, and a little patience, you have the power to create a garden filled with your favorite plants. Propagation transforms you from a plant owner into a plant creator. Start with an easy one like mint or basil, and watch as a simple cutting transforms into a thriving new plant. It’s one of the most satisfying projects a gardener can undertake. Happy propagating!