The Ultimate Guide to a Clean and Pest-Free Wheelie Bin
A wheelie bin is an essential part of modern household waste management, but it can quickly become a source of unpleasant odors, messy spills, and an open invitation for pests. From flies and maggots in the summer heat to scavenging animals in the dead of night, a poorly maintained bin can cause a host of problems.
This comprehensive guide provides everything you need to know to keep your bin clean, hygienic, and free from unwanted visitors. By adopting a few simple habits, you can ensure your waste area remains tidy and trouble-free all year round.
The Foundation: Proper Waste Disposal Habits
The first line of defense against pests and odors is how you handle waste before it even goes into the bin. Preventing problems is always easier than curing them.
- Bag Everything Securely: Never place loose kitchen waste directly into your wheelie bin. Uncontained food scraps are a primary attractant for pests. Use durable bin bags and tie them securely before disposal.
- Double-Bag High-Odor Waste: For particularly pungent items like meat, fish, or soiled nappies, consider double-bagging to contain smells and prevent leaks that can coat the inside of your bin.
- Wrap Organic Waste: Before placing food scraps in your main bin bag, wrap them in newspaper. This simple step absorbs excess moisture and odors, making the waste less appealing to flies looking for a place to lay eggs.
- Drain Liquids: Ensure you drain as much liquid as possible from containers, food packaging, and food scraps before binning them. Excess moisture creates a foul-smelling “bin juice” that attracts pests and makes cleaning more difficult.
Combating Pests: Your Prevention and Action Plan
Even with perfect disposal habits, pests can still be a nuisance. Here’s how to tackle the most common culprits, from tiny insects to larger wildlife.
Insects: How to Prevent Flies and Maggots
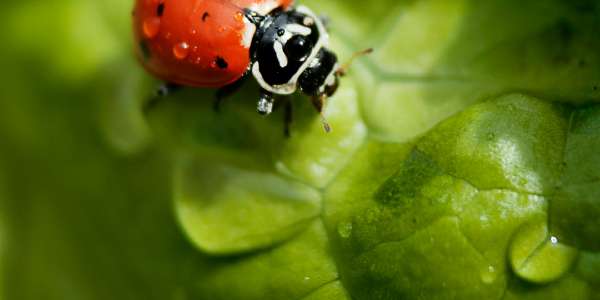
Maggots are a common and unpleasant sight, especially during warmer months. They are the larvae of flies, which are drawn to the smell of decomposing organic matter.
- Keep the Lid Shut: This is the most critical step. An open lid is a clear invitation for flies to enter and lay their eggs. Ensure your bin lid closes properly and remains shut at all times.
- Position Your Bin in the Shade: If possible, store your bin out of direct sunlight. Heat accelerates the decomposition of waste, intensifying odors that attract flies and creating the perfect warm environment for maggots to hatch and thrive.
- Clean Up Spills Immediately: Wipe down the lid and rim of your bin regularly to remove any food residue or spills that could attract flies.
- What to Do If You Already Have Maggots: If you discover an infestation, don’t panic. After the bin has been emptied, you can effectively eliminate any remaining larvae. Thoroughly rinse the bin with boiling water, which will kill them instantly. For a more potent solution, you can also use a generous amount of salt or lime inside the empty bin, which helps to dry out and smother any survivors.
Scavenging Animals: Deterring Rodents, Foxes, and Birds
Larger animals are often attracted to the promise of an easy meal. They can knock over bins, tear open bags, and leave a significant mess for you to clean up.
- Secure the Lid: If wildlife is a persistent problem in your area, a simple closed lid might not be enough. Use a bungee cord, a heavy object, or a purpose-made bin lock to keep the lid firmly secured against determined animals.
- Use Scent-Based Deterrents: Many animals have a powerful sense of smell, which you can use to your advantage. A simple and effective deterrent is white vinegar.
- How to Use Vinegar: Mix a solution of equal parts water and white vinegar in a spray bottle. Liberally spray the exterior of your bin, paying special attention to the lid and handles. The strong, acidic scent is unpleasant to most scavenging animals and can mask the smell of the food inside. Reapply every few days or after heavy rain.
- Clean the Surrounding Area: Don’t just focus on the bin itself. Sweep up any debris and clean any spills on the ground around your bin. Lingering food smells will attract animals to the area, even if the bin itself is secure.
Your Step-by-Step Wheelie Bin Cleaning Routine
Regular cleaning is essential for preventing stubborn grime, foul odors, and pest infestations. Aim to give your bin a thorough clean at least once a month, or more frequently during hot weather.
What You’ll Need:
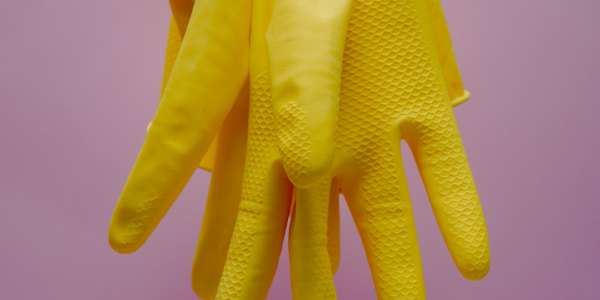
- Rubber gloves
- Hose with a spray nozzle or a pressure washer
- Long-handled, stiff-bristled brush
- Eco-friendly detergent or dish soap
- Disinfectant spray (or a vinegar/water solution)
- Old clothes
The Cleaning Process:
- Time it Right: The best time to clean your bin is right after it has been emptied by your waste collection service.
- Initial Rinse: Lay the bin on its side and give the interior a powerful rinse with your hose to dislodge any loose debris and grime.
- Scrub Down: Squirt a generous amount of detergent into the bin and add a few inches of hot water. Use your long-handled brush to scrub all interior surfaces, including the corners, base, and inside of the lid.
- Disinfect: After rinsing out the soap, spray the inside with a disinfectant to kill any remaining germs and bacteria. For a natural alternative, a vinegar solution works well. Let it sit for 10-15 minutes.
- Final Rinse: Give the bin one last, thorough rinse to wash away all the soap and disinfectant.
- Dry Completely: This is a crucial step. Turn the bin upside down with the lid open and let it air dry completely in the sun. Putting a new bag into a wet bin will create a damp, smelly environment perfect for bacteria.
By integrating these preventative measures and cleaning routines into your household habits, you can transform your wheelie bin from a potential problem into a clean, tidy, and pest-free part of your home. A little consistent effort goes a long way in maintaining a hygienic environment for you and your neighbors.