The Ultimate Guide to Removing Limescale and Caring for Your Fixtures
Hard water stains and mineral buildup can make even the most beautiful kitchen and bathroom fixtures look dull and neglected. That chalky, white residue, known as limescale, is a common frustration for homeowners, particularly on modern granite composite sinks and chrome faucets.
Fortunately, you don’t need a cabinet full of harsh chemicals to restore their shine. This comprehensive guide will walk you through simple, effective, and budget-friendly methods to prevent and remove limescale, ensuring your sinks and fixtures remain spotless.
Understanding Limescale: The Unseen Culprit
Before diving into cleaning methods, it’s helpful to know what you’re up against. Limescale is the milky, crusty deposit of calcium carbonate that gets left behind when hard water evaporates. Hard water is simply water with a high concentration of dissolved minerals like calcium and magnesium.
When this water sits on your granite sink, faucet, or showerhead and then dries, it leaves these mineral deposits behind. Over time, these layers build up, creating unsightly white or grey marks that can be tough to remove. On colored sinks, like black or grey granite composite, these stains are especially noticeable.
Daily Cleaning and Prevention: The First Line of Defense
The easiest way to fight limescale is to prevent it from forming in the first place. A few simple habits can dramatically reduce buildup.
Basic Daily Wipe-Down
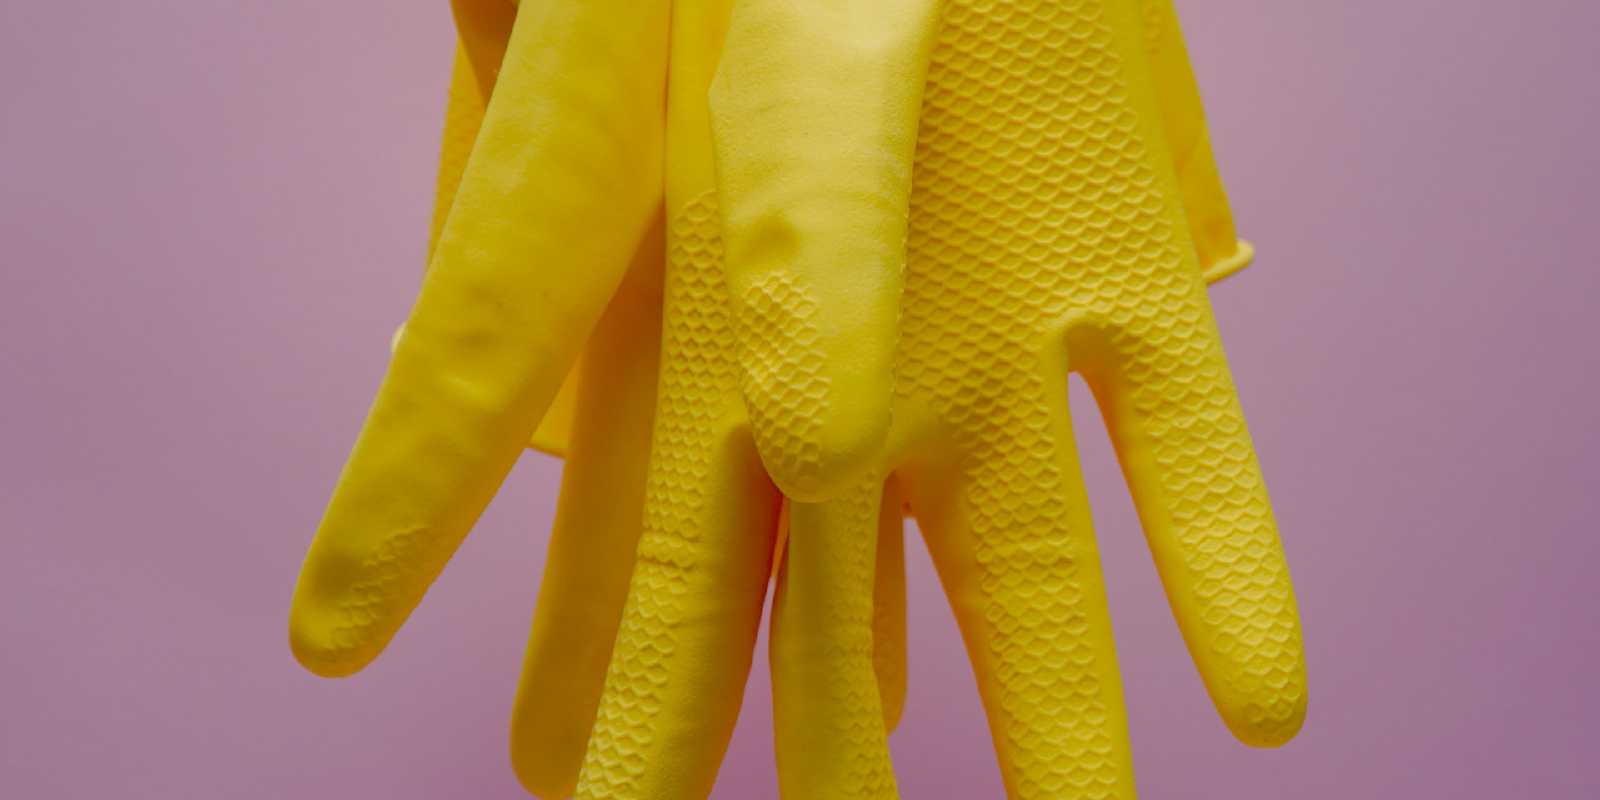
For all sinks, faucets, and fixtures, the most effective preventative measure is also the simplest: keep them dry. After each use, take a moment to wipe down the surface with a soft, dry microfiber cloth. This removes the mineral-rich water before it has a chance to evaporate and leave deposits behind, stopping limescale in its tracks.
Gentle Cleaning for Granite Sinks
For daily cleaning of granite or Silgranit sinks, you don’t need specialized products. A small amount of standard dish soap on a soft sponge is perfectly sufficient to handle everyday grime. Once you’re done washing up, give the sink a quick rinse and then follow up with the all-important wipe-down.
Deep Cleaning: How to Remove Existing Limescale
If limescale has already taken hold, it’s time for a more targeted approach. These methods use common household items to break down and dissolve mineral deposits safely and effectively.
Method 1: The Acidic Approach with Vinegar or Lemon
Acids are excellent at dissolving the alkaline mineral deposits that form limescale.
- Apply the Cleaner: Soak a sponge or cloth in white vinegar or a lemon-based cleaning solution. For faucets or showerheads, you can fill a plastic bag with vinegar and secure it over the fixture with a rubber band, ensuring the affected areas are fully submerged.
- Let It Sit: Apply the acidic solution directly to the stained areas. For light stains, 15-20 minutes may be enough. For more stubborn buildup, let it sit for at least an hour.
- Scrub and Rinse: Gently scrub the area with a soft sponge or brush. The limescale should loosen and wipe away.
- Rinse Thoroughly: Rinse the surface with clean water to remove any lingering acid and dissolved minerals.
- Dry Completely: Finish by drying the area with a microfiber cloth to prevent new spots from forming.
Method 2: The Oil Treatment for Stubborn Buildup
It may sound unconventional, but cooking oil is a surprisingly effective and gentle tool for tackling limescale, especially on chrome fixtures. The oil works by softening the hard mineral deposits, making them easier to remove without scratching the surface.
For Light Limescale: Simply apply a small amount of cooking oil (like vegetable or olive oil) to a cloth and rub it onto the affected faucets or fixtures. Let it sit overnight, and in the morning, wipe it clean with a fresh cloth.
For Thick, Stubborn Limescale:
- Soak and Apply: Liberally soak a paper towel or kitchen paper in cooking oil.
- Wrap the Fixture: Wrap the oil-soaked paper directly around the faucet, showerhead, or sink base, ensuring it makes full contact with the limescale deposits.
- Wait Overnight: Leave the wrap in place overnight to give the oil ample time to penetrate and soften the buildup.
- Gently Remove: In the morning, remove the paper. For any thick layers that remain, you can gently pry them off with a wooden toothpick or the edge of a plastic card. Avoid using metal, as it can scratch the finish.
- Wipe Clean: Wipe away any remaining residue with a clean, dry cloth to reveal a sparkling, limescale-free surface.
Special Care and Maintenance for Granite Sinks
Granite composite sinks are durable and beautiful, but their porous texture can make them a magnet for limescale. Here are a few extra tips to keep them looking their best.
The Petroleum Jelly Trick for Prevention and Shine
For a powerful preventative treatment, turn to petroleum jelly (Vaseline). After thoroughly cleaning and drying your granite sink, apply a very thin layer of petroleum jelly to the entire surface with a soft cloth. Buff it in until there is no greasy residue.
This creates a hydrophobic barrier that causes water to bead up and run off instead of sitting on the surface. It not only prevents new mineral deposits but also conditions the granite, restoring its deep, rich color and shine. This cost-effective method is hygienic and requires reapplication only periodically. A light coat of olive oil can achieve a similar shining effect.
Understanding Discoloration
If you notice stains from coffee, tea, or tomato sauce on your light-colored granite sink, the culprit is likely limescale, not the sink material itself. Porous limescale deposits can easily absorb pigments from food and drinks. By removing the limescale using the methods above, you will also remove the discoloration, revealing the original, colorfast surface of your sink.